Showing 1–16 of 26 results
-
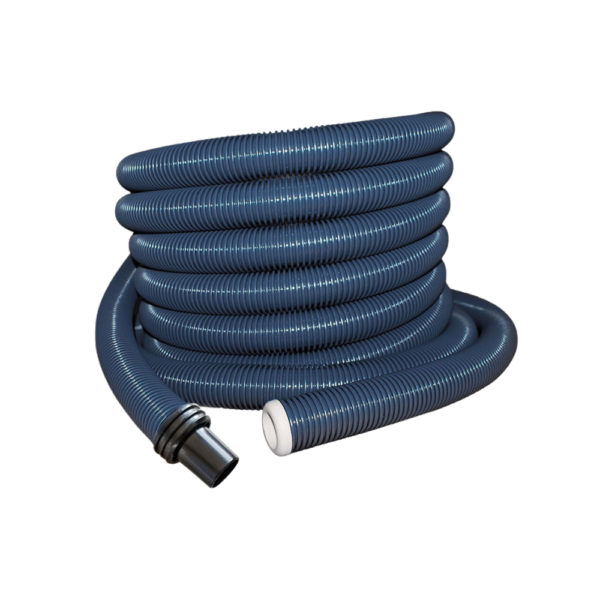
RapidFlex Hose (mini-cuff)
$88.95 – $172.95RapidFlex central vacuum hoses are made of scratch resistant material that does not require a hose sock. RapidFlex hoses pull out more easily and retract faster than hose kits, and are a larger diameter, increasing air flow 20 -30%. Our new RapidFlex hoses feature the mini-cuff, which allows tools to fit directly onto the hose cuff for easier use. Hose lengths can be customized to fit the home-owner’s needs. Trim desired length from end of hose that goes in valve first, then replace end cap into trimmed end (Do not trim the cuff-end of hose).
-
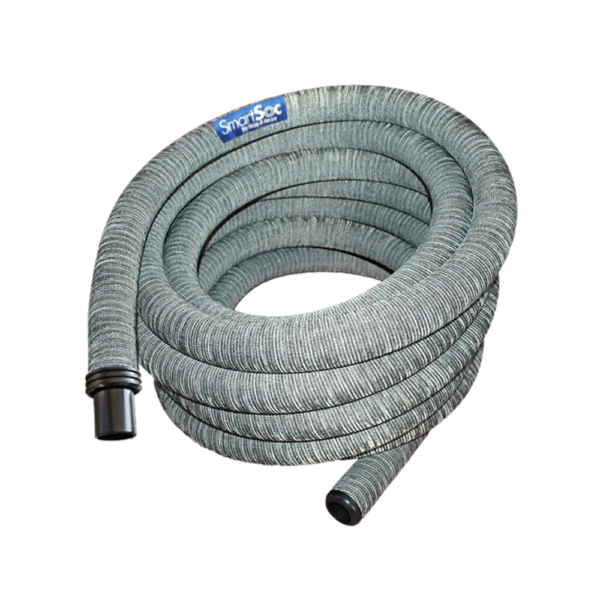
SmartSoc Hose
$105.95 – $190.95Hose kits include a pre-installed sock that protects millwork and furniture. Our new hose kits feature the mini-cuff, which allows tools to fit directly onto the hose cuff for easier use. Hose lengths can be customized to fit the home-owner’s needs. Refer to How to Customize Hose Length. A hose kit can be washed without removing the sock. Remove the entire hose kit from the valve and wash the hose w/sock in a bathtub using a small amount of dish or laundry soap. Rinse thoroughly and hang to dry before retracting back into the valve.
-
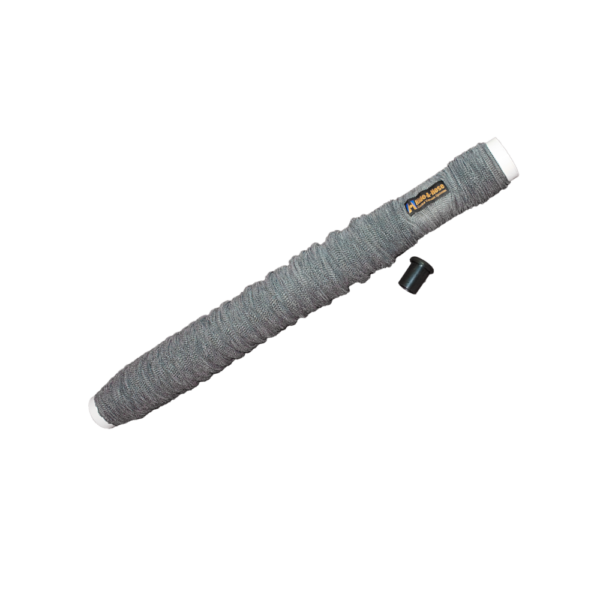
Hose Sock Replacement Kit
$46.68 – $89.33Hose sock replacement kits include a hose sock pre-loaded on a cardboard tube and a tension guide for ease of installation. Refer to Hose Sock Replacement Instructions.
NOTE: This item should only be used to replace the hose sock on a SmartSoc hose and is Not for use on a RapidFlex hose. The RapidFlex hose is a larger diameter than the SmartSoc hose.
-
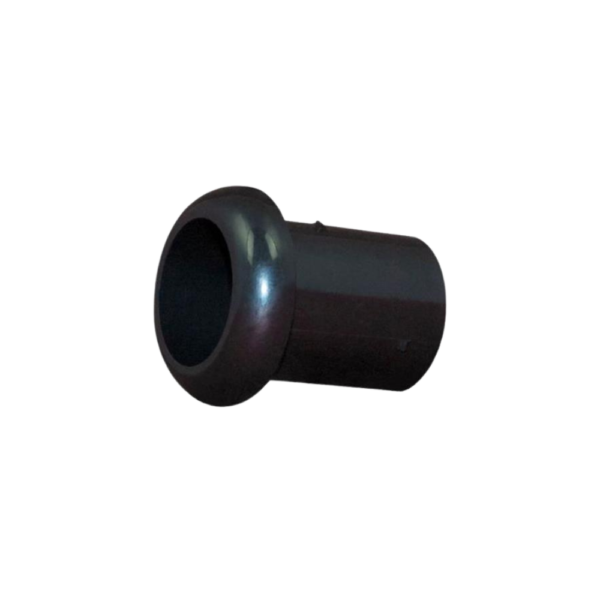
Hose End Cap, Black (SmartSoc)
$1.61The black end cap fits into the end of a Hide-A-Hose Hose SmartSoc Hose, holding the sock in place. (Black and white end caps are NOT interchangeable).
-
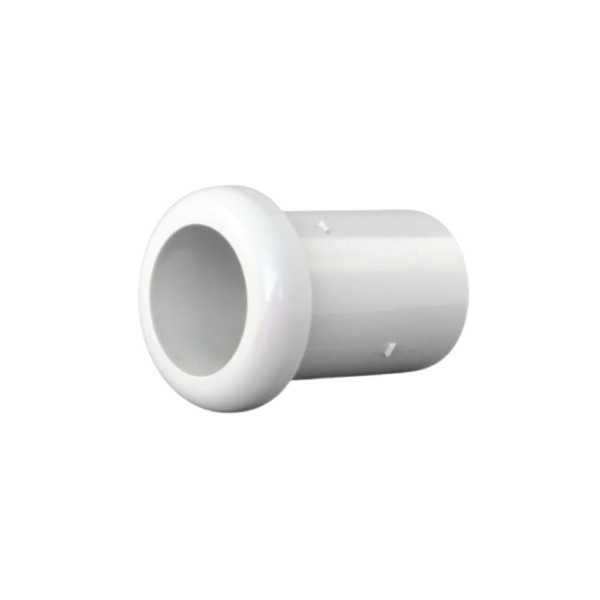
Hose End Cap, White (RapidFlex)
$2.58The white end cap fits into the end of a Hide-A-Hose RapidFlex Hose, keeping the end of the hose round. (Black and white end caps are NOT interchangeable).
-
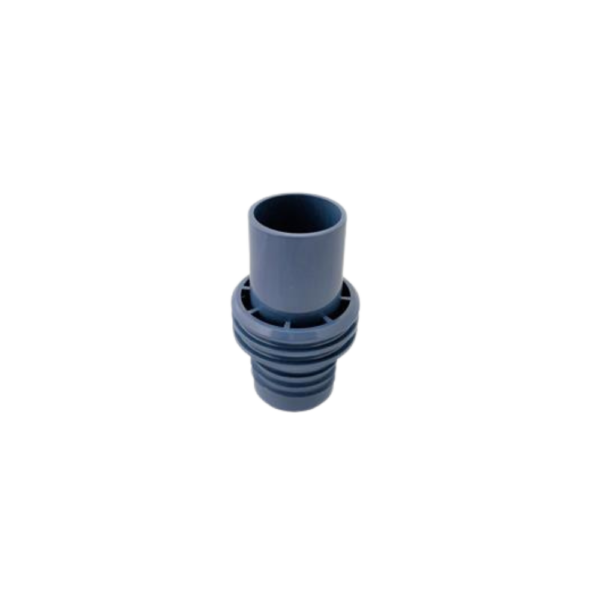
RapidFlex Mini-Cuff (Blue 1 3/8”)
$2.69The Hide-A-Hose RapidFlex Mini-Cuff connects the hose to a Ready Grip Direct Connect handle.
The Mini-Cuff also offers the convenience of connecting directly to accessories included in the tool kits.
This cuff is 1 3/8” and will only fit the RapidFlex hose. (See HS5000H4 for a SmartSoc hose cuff.)
The mini-cuff acts as a stop when the hose is retracted into the valve. If the cuff comes off the hose, screw the cuff back into the hose, counterclockwise, until it is firmly seated against the end of the hose. If the end of the hose has been damaged, trim off 2” – 3” with sharp scissors before installing the new cuff. Do not retract the hose without the cuff.
(If additional friction is needed to hold the hose in place when closing the valve door, the mini-cuff accepts 1 or 2 O-Rings. See Part#HS500123)
-
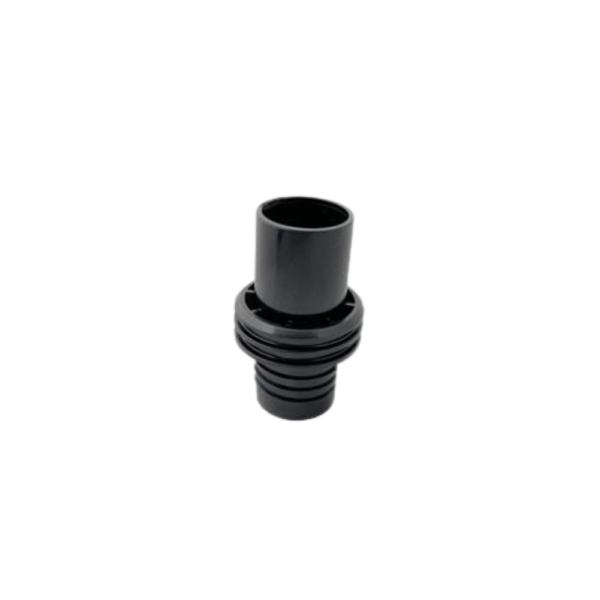
SmartSoc Mini-Cuff (Black 1 ¼”)
$1.75The Hide-A-Hose SmartSoc Mini-Cuff connects the hose to a Ready Grip Direct Connect handle.
The Mini-Cuff also offers the convenience of connecting directly to accessories included in our tool kits.
This cuff is 1 ¼” and will only fit the SmartSoc hose. (See HS5000H5 for a RapidFlex hose cuff.)
The mini-cuff acts as a stop when the hose is retracted into the valve. If the cuff comes off the hose, tuck ¼” – ½” of sock into the hose and screw the cuff back into the hose, counterclockwise, until it is firmly seated against the end of the hose. Do not retract the hose without the cuff.
(If additional friction is needed to hold the hose in place when closing the valve door, the mini-cuff accepts 1 or 2 O-Rings. See Part#HS500121)
-
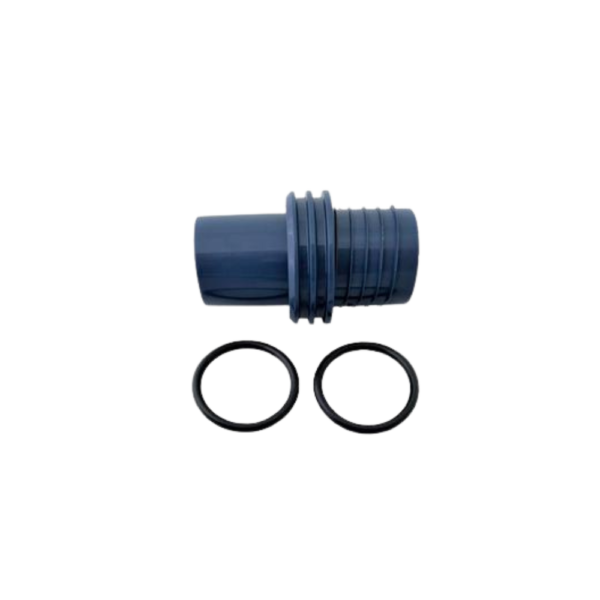
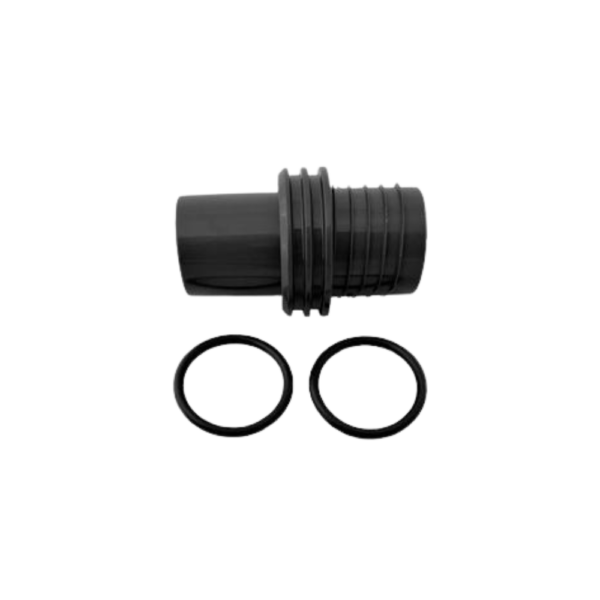
RapidFlex Cuff/O-Ring Kit
$3.53RapidFlex Mini-Cuff replacement kit includes HS5000H5 Mini-Cuff (blue – 1 3/8”) and two O-Rings.
-
SmartSoc Cuff/O-Ring Kit
$3.53SmartSoc Mini-Cuff replacement kit includes HS5000H4 Mini-Cuff (black – 1 ¼”) and two O-Rings.
-
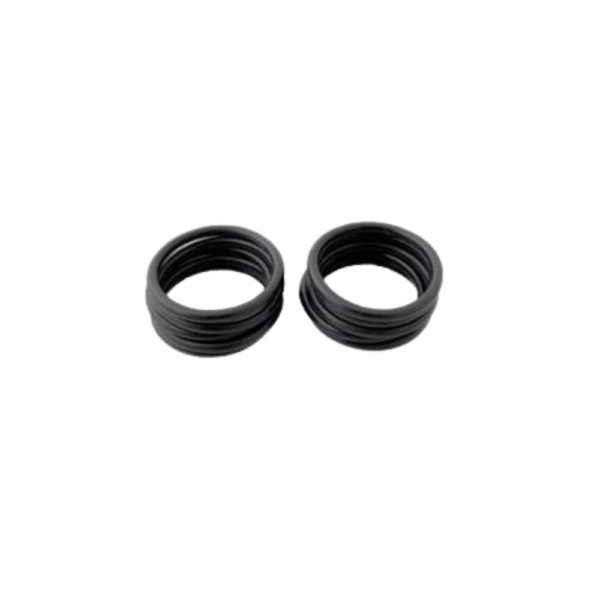
O-Ring for Mini-Cuff 10-Pack
$2.6410-pack of O-rings (218 Duro 70 Buna-N Nitrile) for either HS5000H4 SmartSoc cuff or HS5000H5 RapidFlex cuff.
-
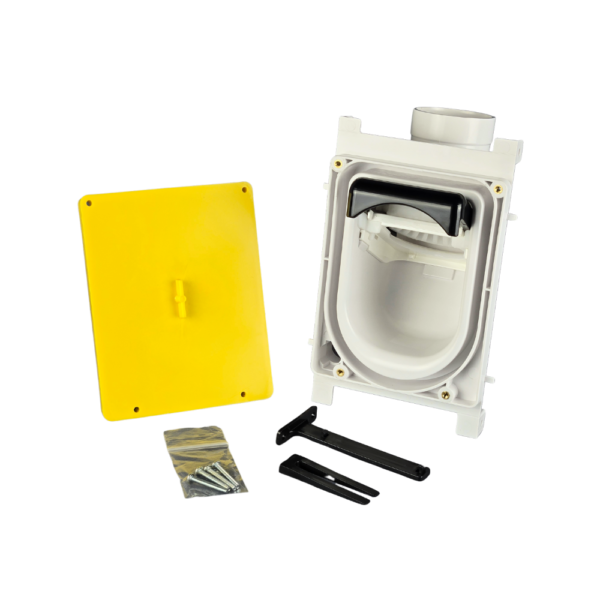
6000 PRO Rough-In Valve Kit
$219.45The 6000 PRO Rough-In Valve Kit is required for both new construction and retro-fit installations. The Rough-In Valve Kit includes: 1 rough-in valve, 1 mounting brace, 1 reducer, 1 yellow mud cover, 4 mud cover screws, and a leveling shim in case the stud is not level.
The New 6000 PRO features a simple and intuitive Push and Pull lock, giving you the flexibility to clean at any length of hose. The valve housing is now installed during the rough-in process (unlike previous Hide-A-Hose valves where the valve housing was installed at trim). The 6000 PRO is mounted to the inside of the stud to avoid drywall bowing, which can occur with other central vacuum valves which mount to the front of the stud.
-
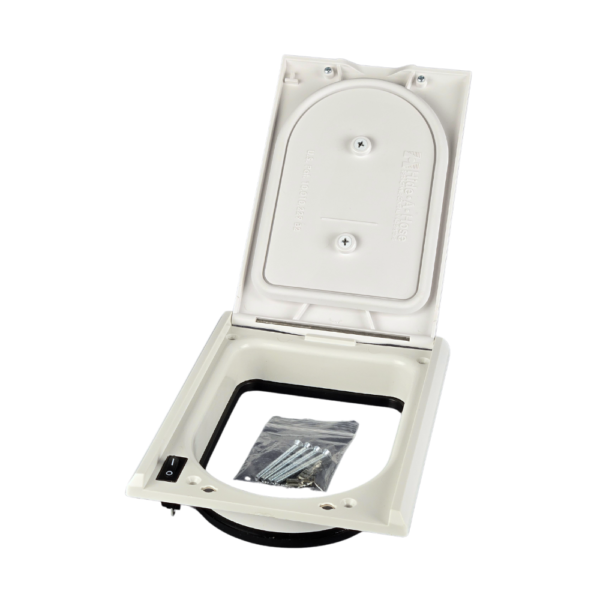
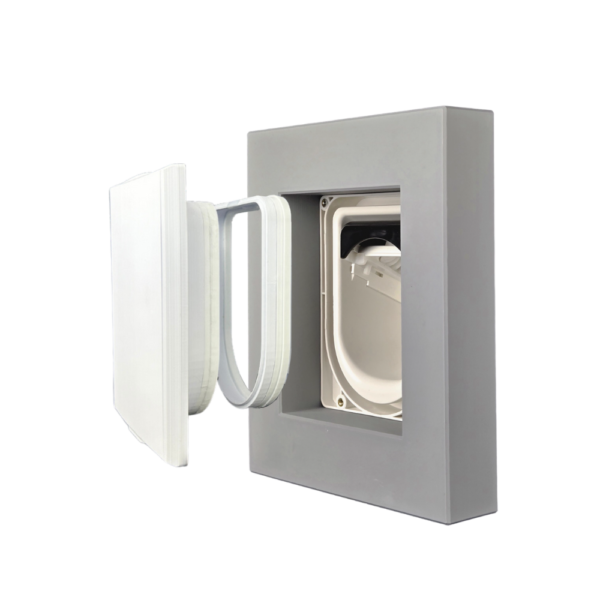
6000 PRO Trim Kit
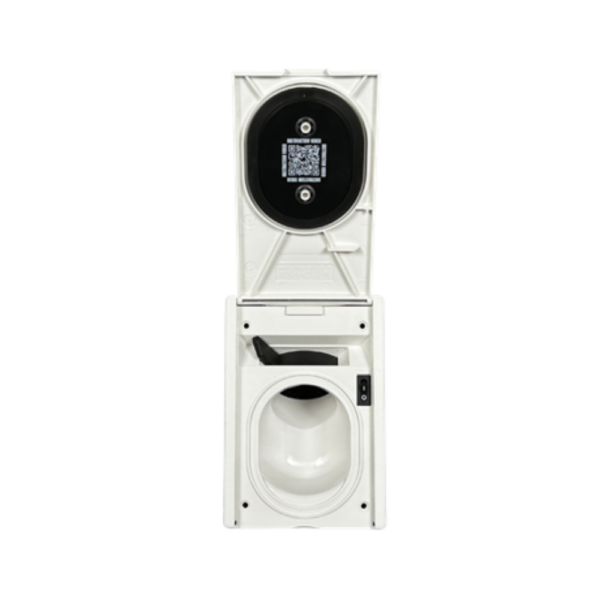
$69.95The 6000 PRO Trim Kit includes the finish door with a low-voltage switch, 4 screws, and 2 spade connectors.
The 6000 PRO has an enlarged sealing surface on the door to ensure maximum cleaning power. The door opens and closes with a smooth, solid feel enhanced by magnets. The magnets are pressed in from the back, keeping them out of reach of children. The Trim Door works with a wall thickness of up to 1″. For thicker walls, Door Extension Kits are 3/4″ and can be easily glued and stacked to adjust for wall thickness. Low voltage wires connect directly to the switch included on the Trim Kit Door.
-
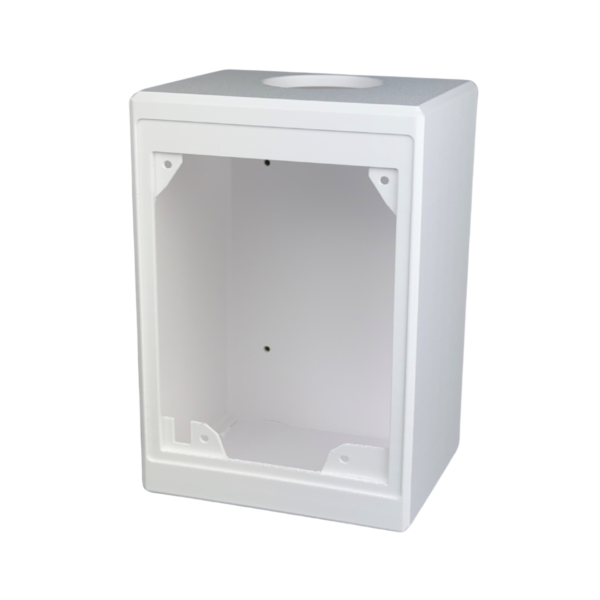
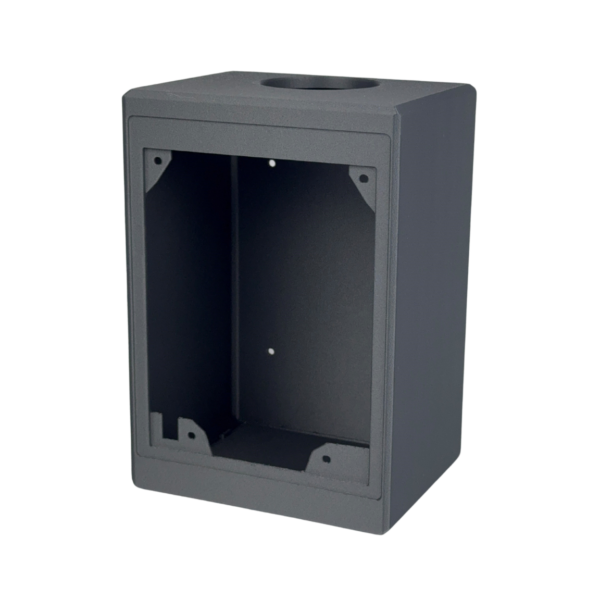
6000 PRO Mounting Box
$45.95The 6000 PRO Mounting Box allows the 6000 PRO Valve to be installed on the surface of a wall, making it an ideal solution for garages, workshops, and commercial spaces.
Available in grey, white, or black, the 6000 PRO Mounting Box combines functionality with versatility to suit a variety of settings. This Mounting Box is not necessary for regular in-wall installation. -
6000 PRO Mounting Box: Carbon Fiber Reinforced
$60.95The 6000 PRO Mounting Box allows the 6000 PRO Valve to be installed on the surface of a wall, making it an ideal solution for garages, workshops, and commercial spaces.
The Carbon Fiber Reinforced material is available in Titan Gray or Black. The 6000 PRO Mounting Box combines functionality with versatility to suit a variety of settings. This Mounting Box is not necessary for regular in-wall installation. -
6000 PRO Extension Kit
$16.45The standard door on the 6000 PRO trims out with a wall thickness of up to 1”. For thicker walls, the Door Extension Kit can be easily glued to the door to adjust for wall thickness. The Door Extension Kit is 3/4″. For extreme scenarios, multiple Door Extension Kits can be glued and stacked together.
-
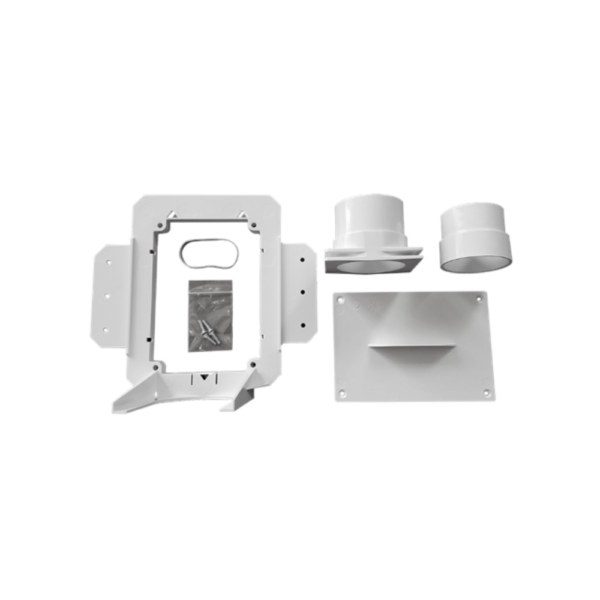
HS5000 Valve Rough-In Kit
$41.82This Rough-In Frame is required for HS5000 new construction or retro-fit installations (exception: installation with concrete wall kit). The Rough In Kit includes: 1 rough in frame, 1 rough in pipe fitting, 1 reducer, 1 mud cover, 4 mud cover screws.

